Maintenance for you Digga drive unit
Digga drilling drives.
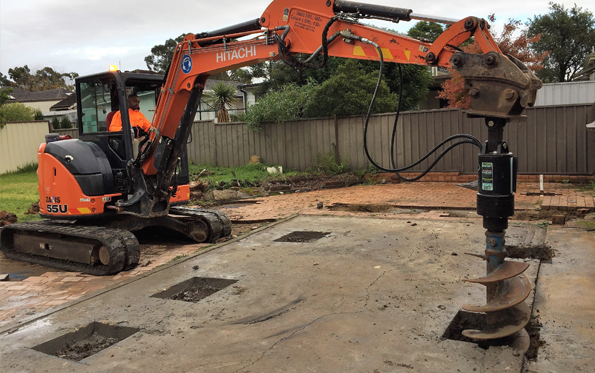
Digga's range of premium drilling auger drives are the ultimate is performance, quality and cost effectiveness. Ideally suited to drilling and auguring applications in most ground conditions, the Digga drive range is completely manufactured and assembled by Digga in Yatala, Queensland.Maintenance for your Digga drive unit.
In this video, Mark talks you through the maintenance checks you can make to your Digga drive unit.Before each use you should check the following:
- Make sure all nuts and bolts are in place and secured tightly
- Make sure all other fasteners are in place and secured
- Check all hydraulic connections are tight and that there are no leaks
- Ensure all your safety signs are in place and visible
- Check externally for oil leaks
- Check the pins, bushes and linkages for wear and tear
If you need to make any repairs or maintenance to your drive unit please refer to your user manual for guidance or contact your local Digga dealer.
Checking your oil.
There are no provisions to check the level of your gearbox oil on your Digga drive.
All Digga drive units are dispatched from the factory filled with the correct level of oil. Unless there are clears signs of external oil leakage there is no reason to have to top up or change your oil between service intervals.
Moderate operating conditions
If you are working in moderate operating conditions you should change your oil at 3 months or after 50 hours of use; then every 500 hours or 12 months, whichever comes sooner.
Severe operating conditions
If you are working in severe operating conditions you should change your oil at 30 hours months; then every 300 hours.Digga recommend an ISO 320 grade mineral oil for your gearbox.
Changing the oil.
If you're unable to book your drive unit in for a service you can change the oil in your drive as per the recommended service intervals.
To change the oil in your gearbox follow these steps, refer to our video and your user manual.
- Lay the drive down with the bung facing up (we also refer to this as the 12 o'clock position)
- Using an 8mm allen key, remove the bung.
- To drain the oil, you need to turn the drive unit so that the bung is facing down and the oil can drip out. You will need a drip tray to collect the old oil.
- Rotate the drive unit until the hole is facing 60 - 70 degrees, or the 2 o'clock position.
- Using a funnel, slowly fill your gear case with oil.
- When you have the hole facing the 2 o'clock position you will be able to see the oil at the bottom of the hole thread. Shining a torch light into the hole will help you see this.
- If the oil level is still too low to reach the thread, repeat the steps 4 - 6 until your drive is full.
.png)

Comments
Post a Comment